Yarnit Picture Blender: Blend & Transform Images with AI Technology
This document guides you through the process of replacing and generating backgrounds using AI art with Yarnit. By following these steps, you will learn how to seamlessly blend pictures and create stunning visuals with ease.
Step 1
To begin, navigate to the apps page on Yarnit and select the AI Art option.
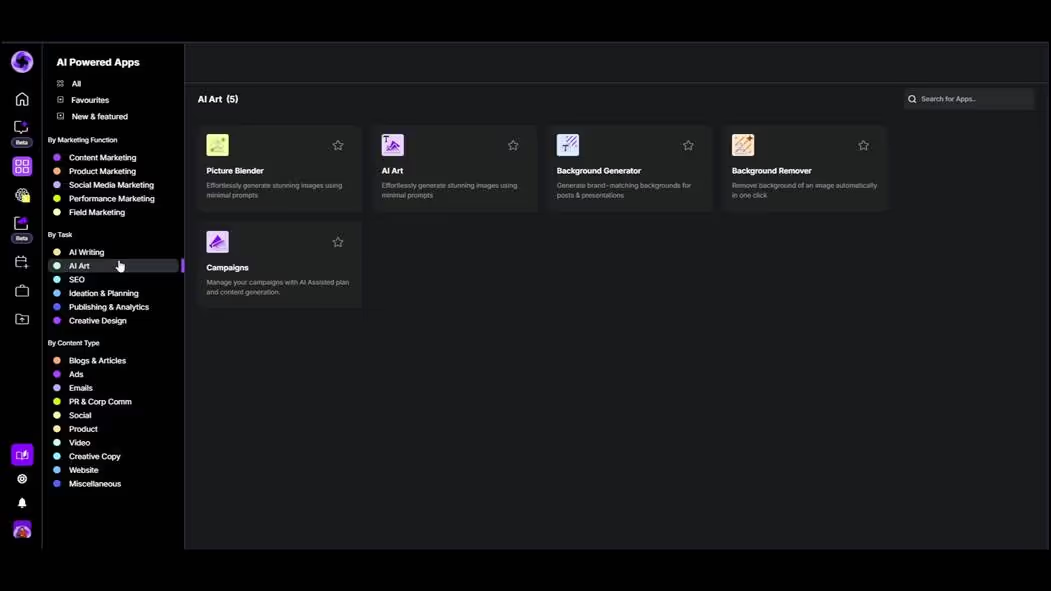
Step 2
Select the picture blender, which will display a brief tutorial. Proceed by clicking 'Upload from PC' to import your image.

Step 3
Choose an image from Yarnit's stock image library. Edit the composition by selecting the desired dimensions; here, we select a one-by-one aspect ratio.
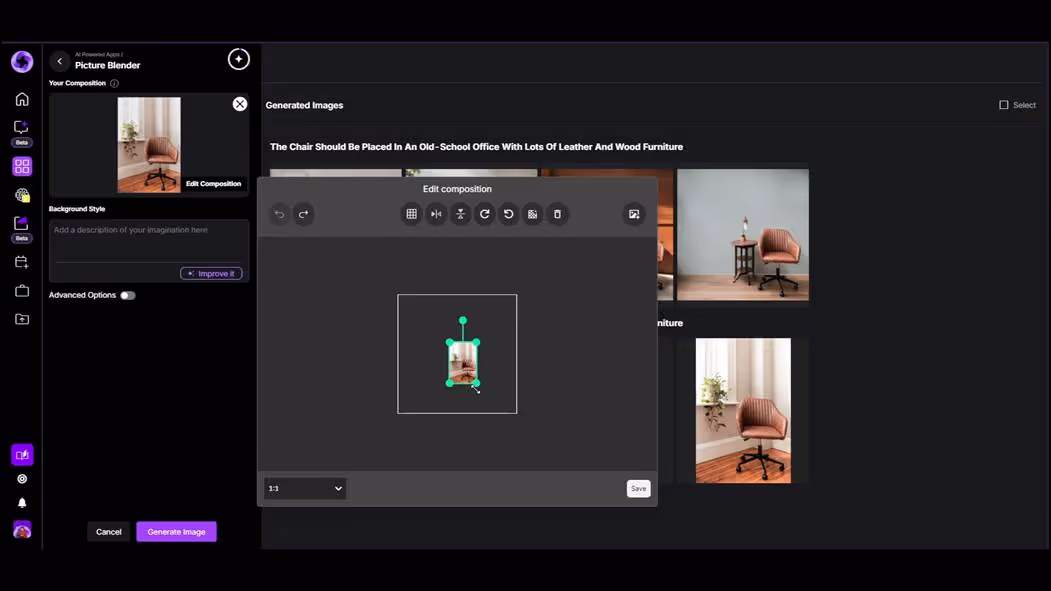
Step 4
Enlarge the image as needed, then click the 'Remove Background' icon. The AI will effectively remove the background from your image.
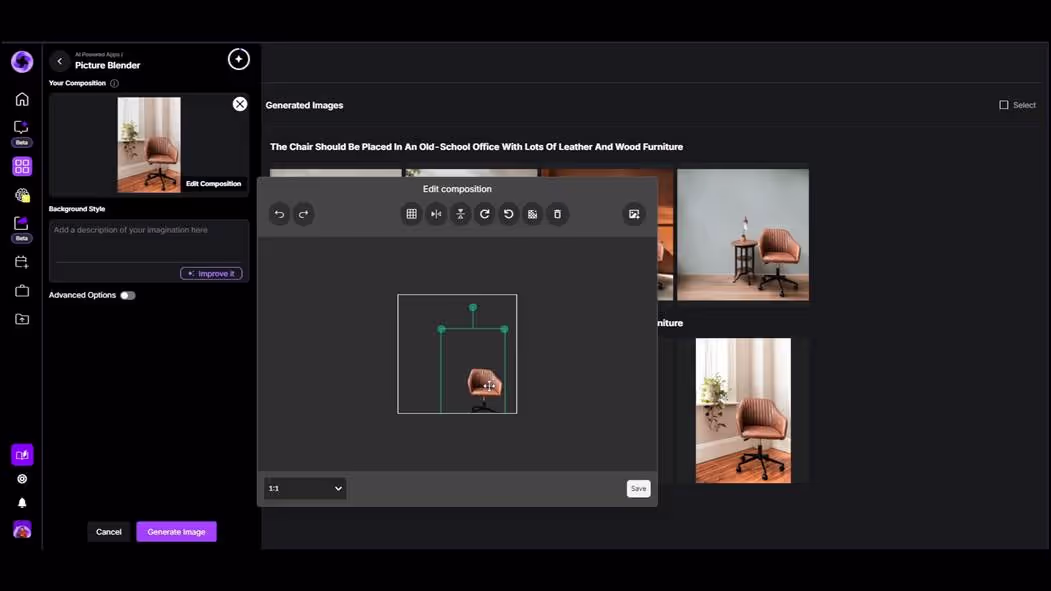
Step 5
Position the object in your composition as desired. In this example, we place it within a 1:1 aspect ratio frame.
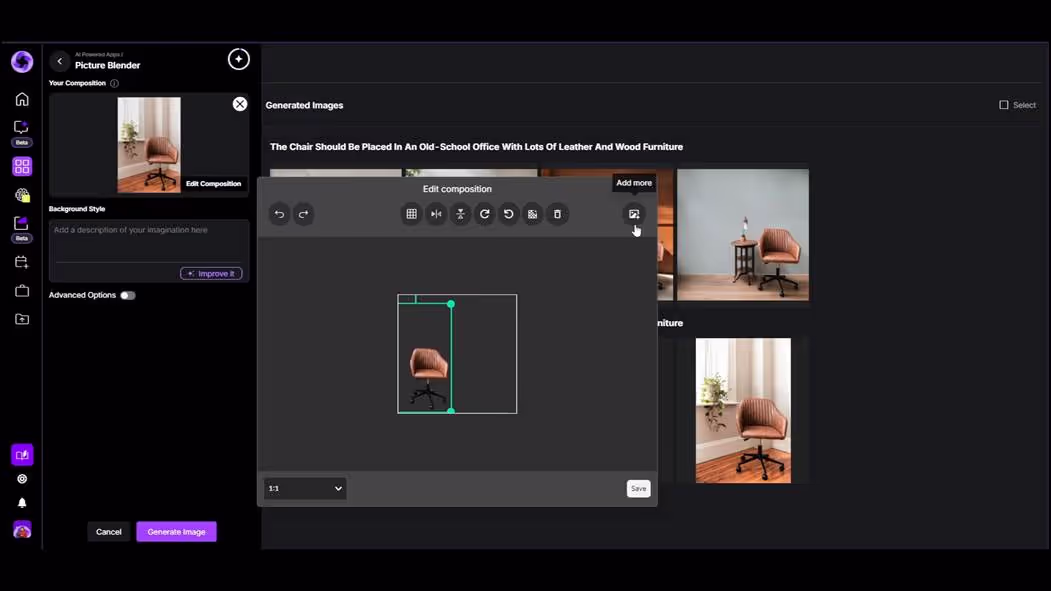
Step 6
Enhance your composition by adding more information or images. Utilize the available editing options and then click 'Save'.

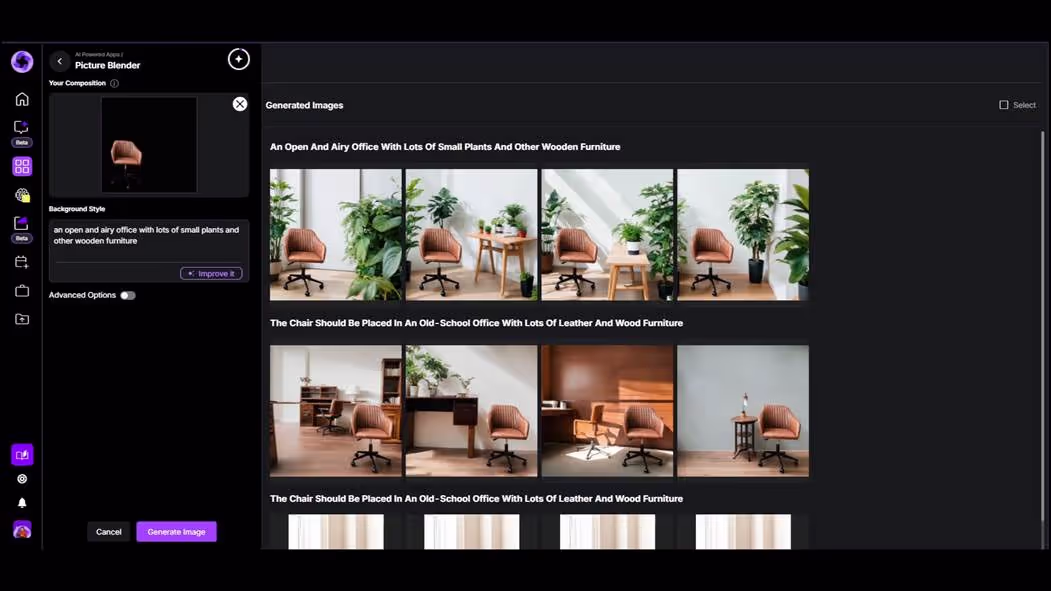
Step 7
Input your prompt and then click 'Generate Image'. The output will align perfectly with your prompt, showcasing the AI's capabilities.
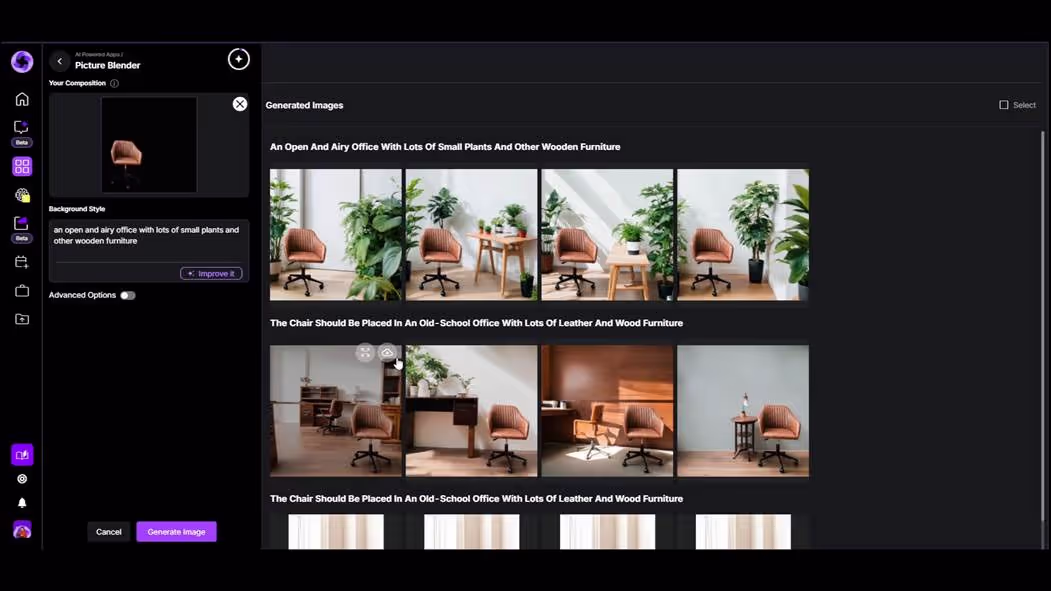
Step 8
Your product will be positioned accordingly, while the prompt influences the background generation. This is how Yarnit facilitates picture blending with AI art.